AP - Setup of Account, Bills, Payment of Vendor
AP - Setup of Account, Bills, Payment of Vendor
Add Vendor
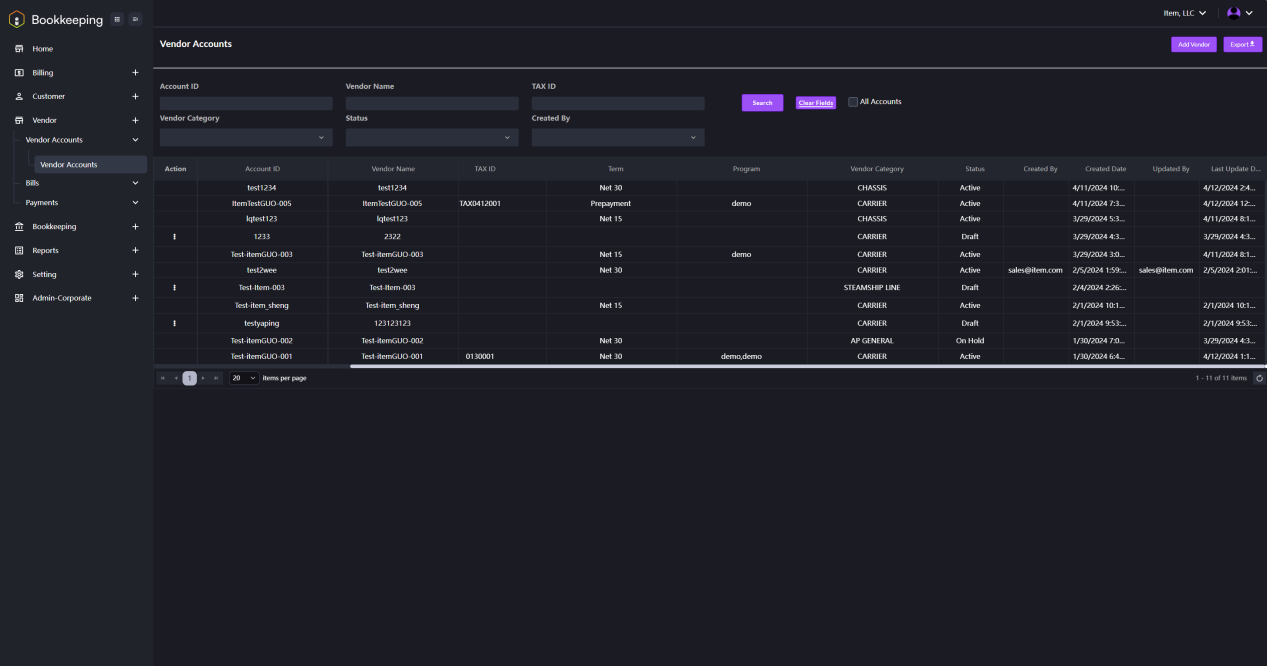
1. Click on the Vendor module name in the left navigation panel to open the drop-down menu. Then, click on Vendor Accounts and select the sub-menu Vendor Accounts. The Vendor Accounts page shown in the image below will be displayed.
2. Click the Add Vendor button in the right top corner of the Vendor Accounts page. The interface shown in the image below will appear.
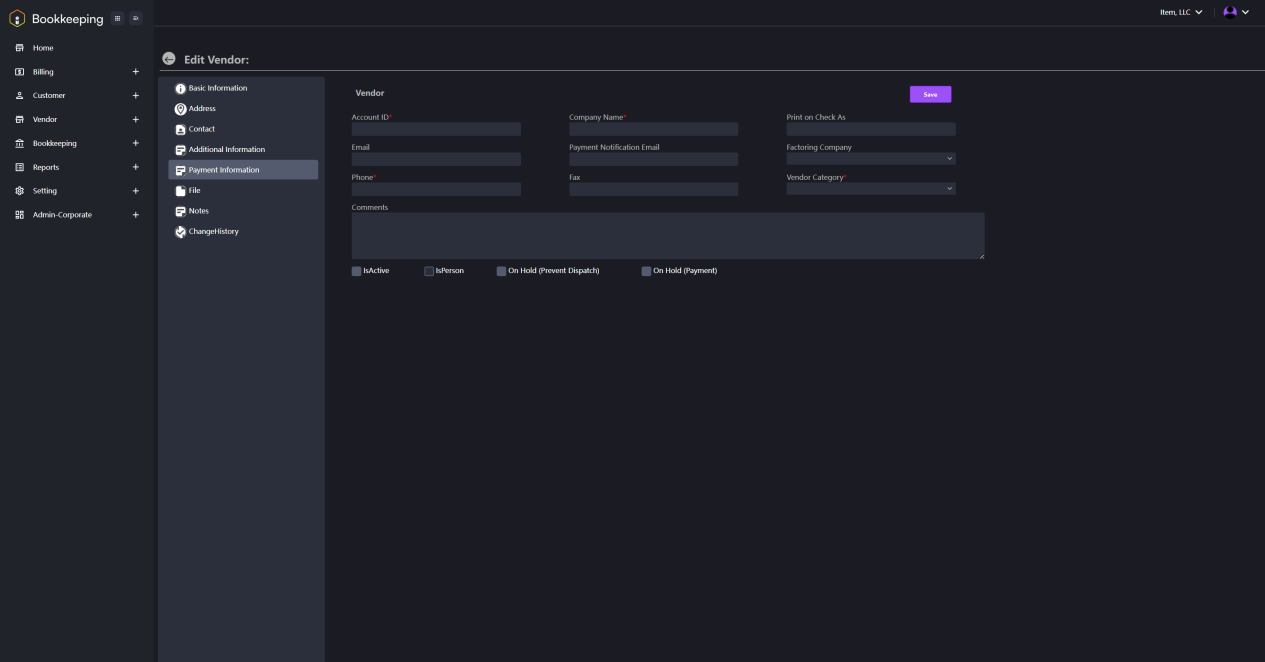
3. Fill in the required information and click the Save button. A new vendor is added successfully.
Vendor Bills
1. Click on the Vendor module name in the left navigation panel to open the drop-down menu. Then, click on Bills followed by Vendor Bills. The interface shown in the image below will be displayed.
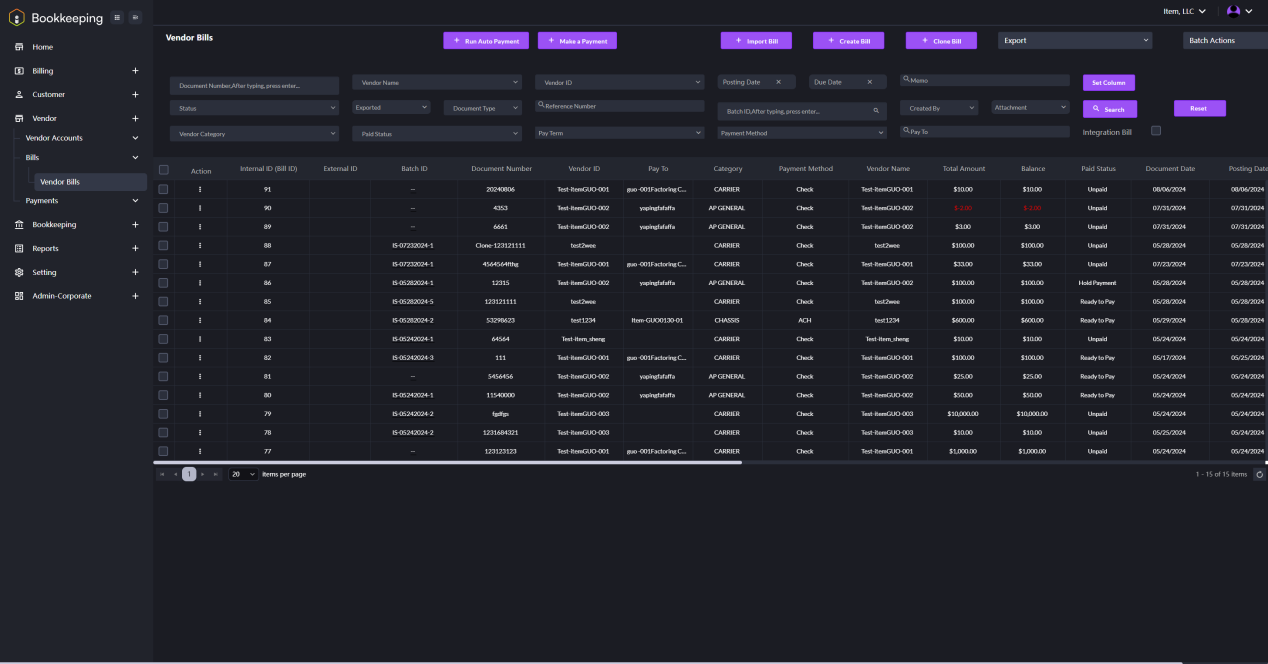
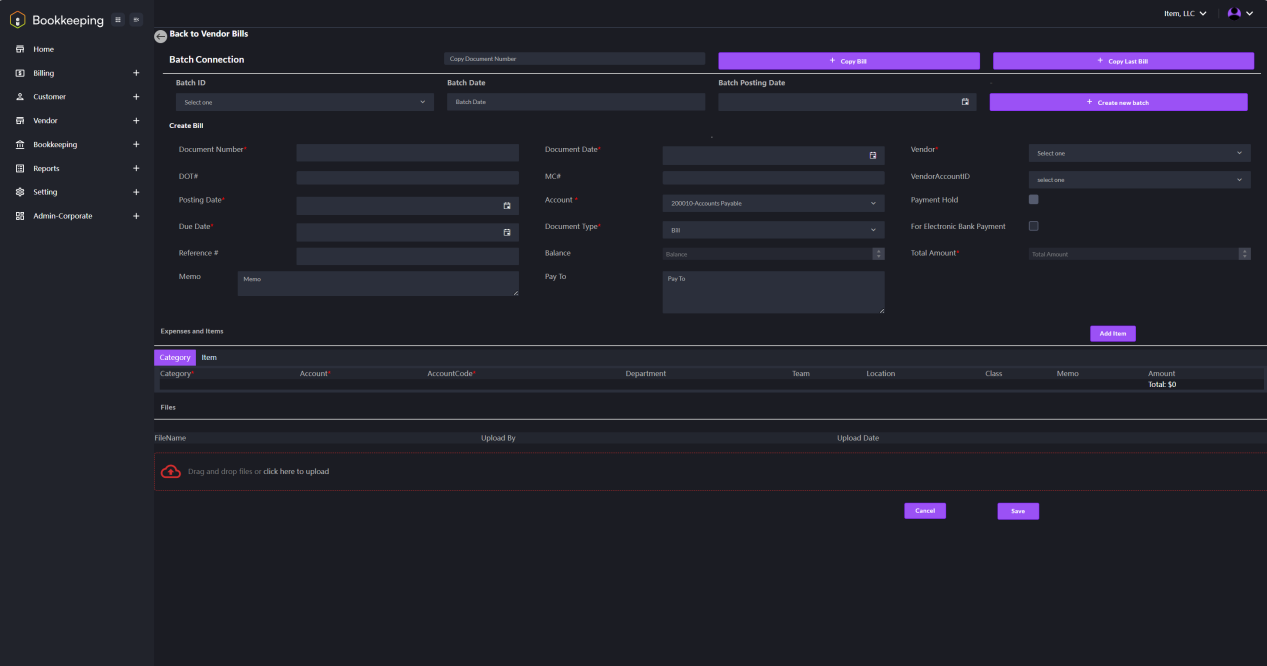
2. Click on the Create Bill button. The interface shown in the image below will appear. Fill in the required information to create a bill.
Payment of Vendor
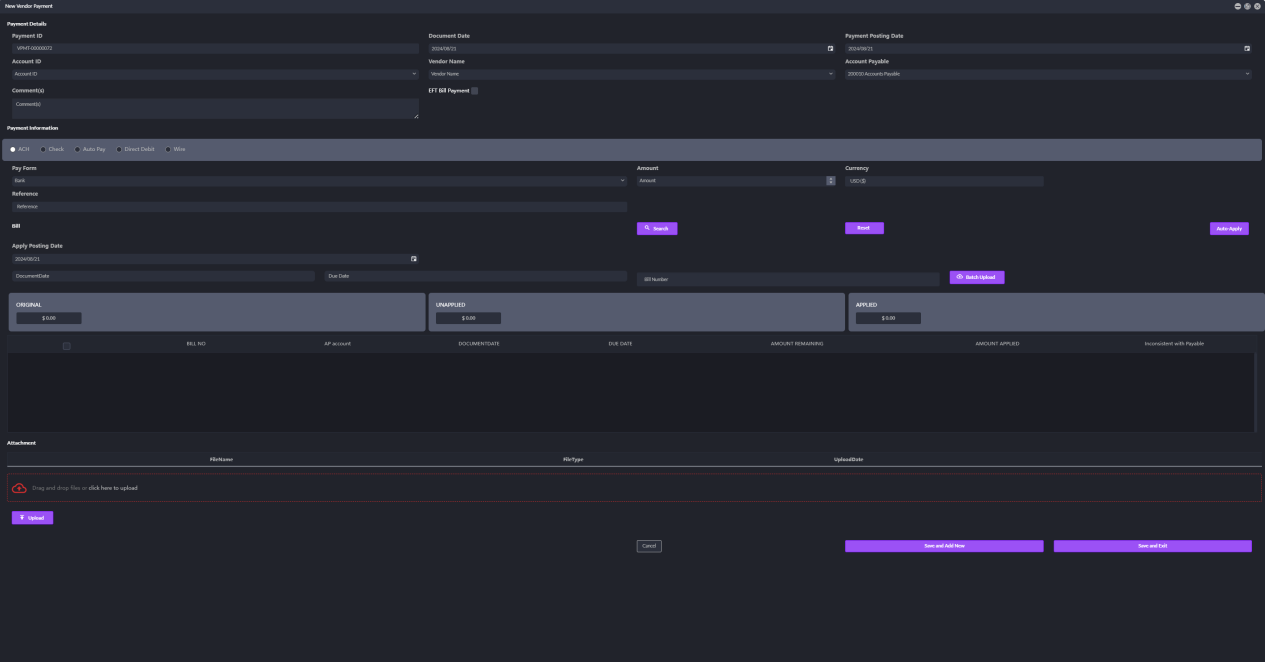
1. Click on the Vendor module name in the left navigation panel to open the drop-down menu. Then, click on Payments followed by Vendor Payments. The interface shown in the image below will be displayed.
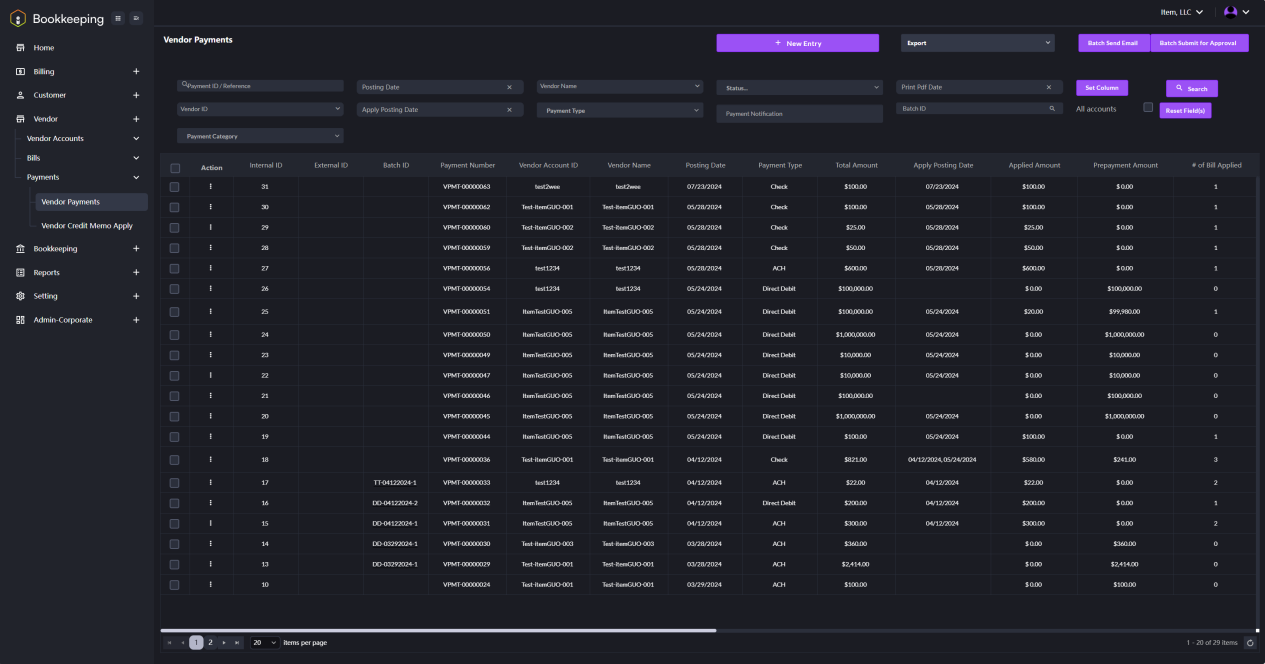
2. Click on the New Entry button to enter the New Vendor Payment page. Fill in the detailed information to create a new vendor payment.